We can finally reveal to you the second phase of our budget bathroom makeover.
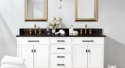
We posted the first phase in here where the white vanity was transformed into a warm-toned one. This makeover was spurred when I won $250 from HomeGoods' Mom Cave contest last year.
When I was a stay-at-home mom taking care of a baby Princess One, one show stood out during one of Oprah's episodes. It was Peter Walsh who mentioned a Room Function Chart that sent me scrambling to get a copy of it on oprah.com. I tucked it away in my Personal Folder file to use as my guide when the proper time comes. The proper time came when hubby and I had to update the master bathroom (aka my Mom Cave).
As a newbie in this DIY thingy, here's how I used the chart to articulate what we needed to do in our bathroom.
Room: Master Bathroom
Current Function
All hygiene breaks occur here. In addition to this, it's also the home of our laundry basket.
Ideal Function
In addition to hygiene breaks, I want it to feel like a sanctuary, especially when I have to respond to the beckoning call of nature.
Who Uses It?
My husband and I, and the two girls. (We just have 1 bathroom on the 2nd floor and the other one is downstairs).
Who Should Use It?
The same.
What Should It Contain?
Mirror, lights, vanity, tissue holder, toilet bowl, floor, soap, soap holder, shower and tub, some art, soap dispenser, toothbrush holder, rug, towel rod, towels, trash bin, toilet bowl cleaner, scrub, baseboard, door trim
What Has To Go?
The old mirror, old light, bent towel rod, battered vinyl tile.
This chart already sets the criteria for what our bathroom should be. With this in mind, I had to take it a notch higher, and that is by adding the question, "How do I want to feel when I step inside? What is working and what is not?" Since this is my mom's cave, I wanted it to be a sanctuary for me.
This is how I executed the next steps to reach this bathroom milestone.
1. Paint the Walls
First, Mr. HOAD and I needed to agree on a wall color and Martha Stewart's Sea Glass was the consensus. Off I went to Home Depot to have that color copied to 'Behr primer and paint in one' since that's the paint so far that doesn't trigger my hubby's allergies.
I painted with all my heart and enjoyed the process of changing the room's color.
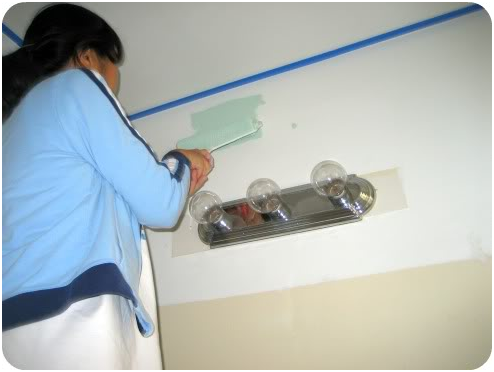
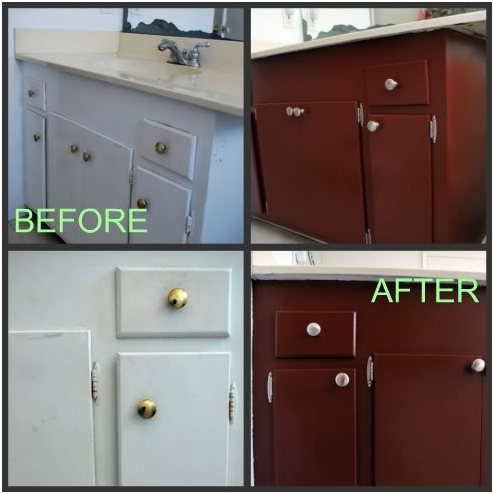
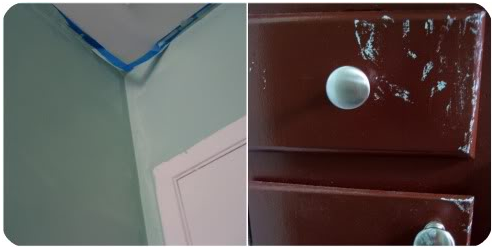
Even with the best care and judicious attention to detail, some 'oops' happen just like the painter's tape falling off and a smudge on the vanity...ok, make that a lot of smudges. When faced with issues while DIY-ing, I have this mantra, "There's always a solution for every problem." For these, I ended up repainting the ceiling white and re-touching the vanity with a brown color.
Okay, I know you're not that much interested in the bloopers I made so this is now the time that I have to show great results. Here's a reminder of what it looked like before
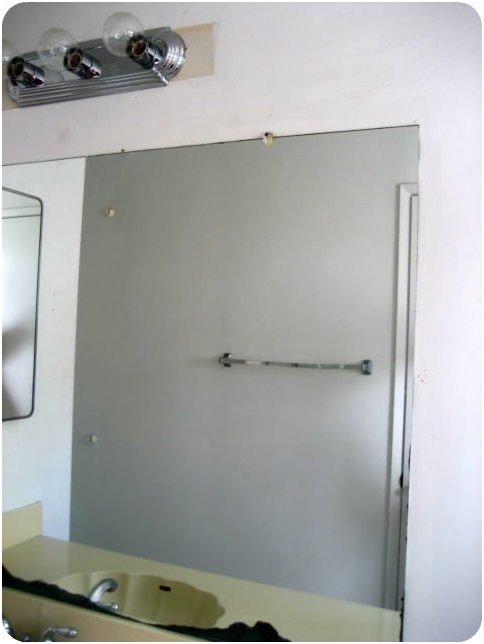
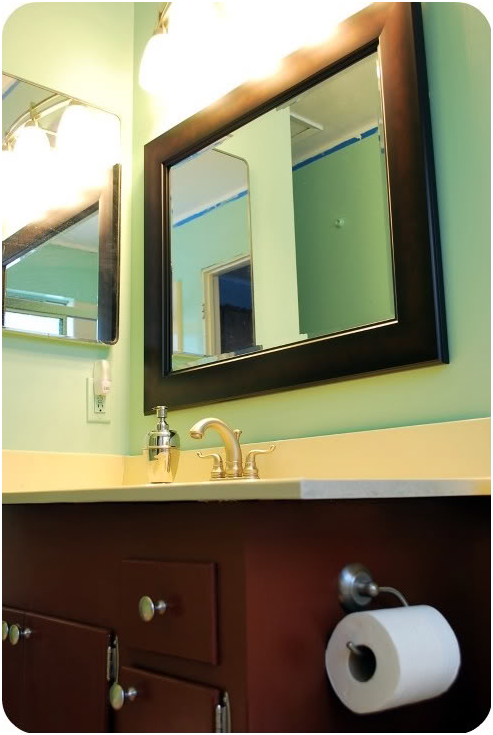
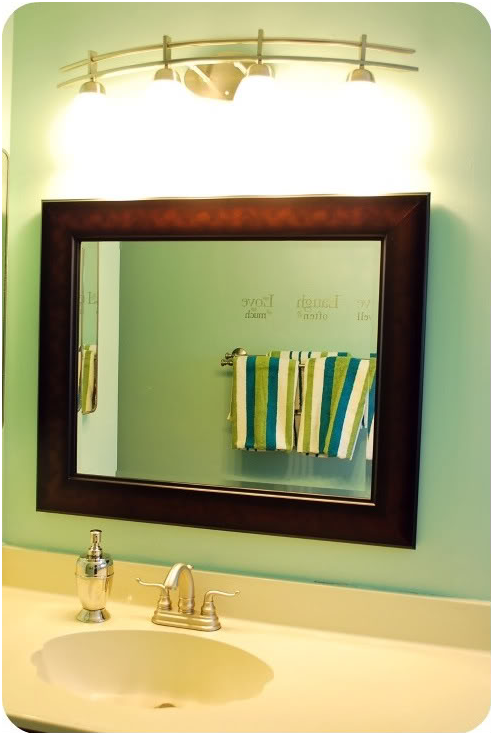
2. New Mirror
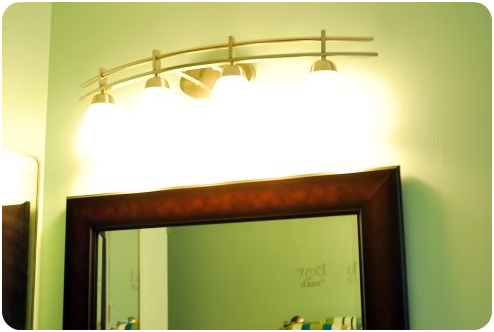
Here's the after. I replaced that 5-decades old mirror with this stylish-and-better-scaled Martha Stewart's Maracaibo mirror ($50 from Home Depot). I also found the bath lights at Costco for $49.75 and gleefully bought them at home. Hubby is the master of electrical and mechanical stuff so he installed it for me.
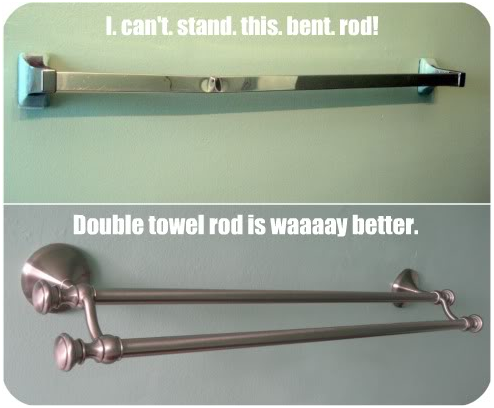
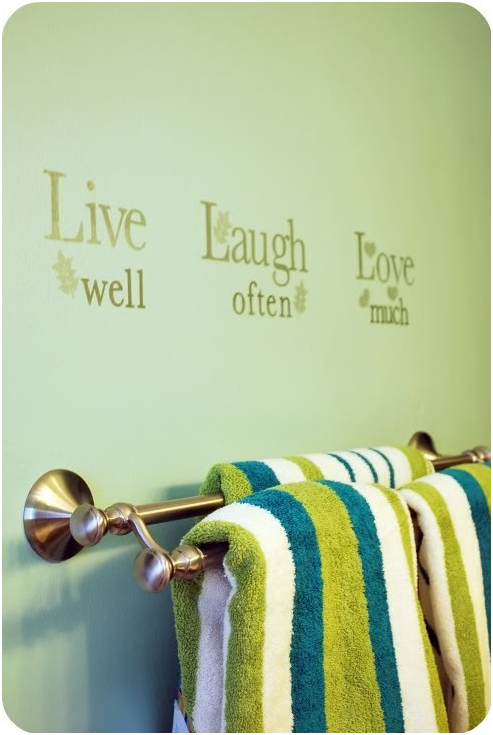
3. Add a Double Towel Bar
I replaced this bent towel rod with a double towel bar from HomeGoods for only $24.99.
4. Inspiring Words on the Wall
I'm a true believer in adding inspiring words on the wall so this "Live well, laugh often, love much" quote from Dollar Tree found its home. It's more personalized and it reflects us as a family.
5. Tissue Holder
The tissue holder is Ikea's $9.99 Lillholmen and it's such a relief to have a place for our tissue. The liquid soap container is from HomeGoods and costs $7.50. I detailed here how we replaced this faucet.
After
So what do you think?
Before
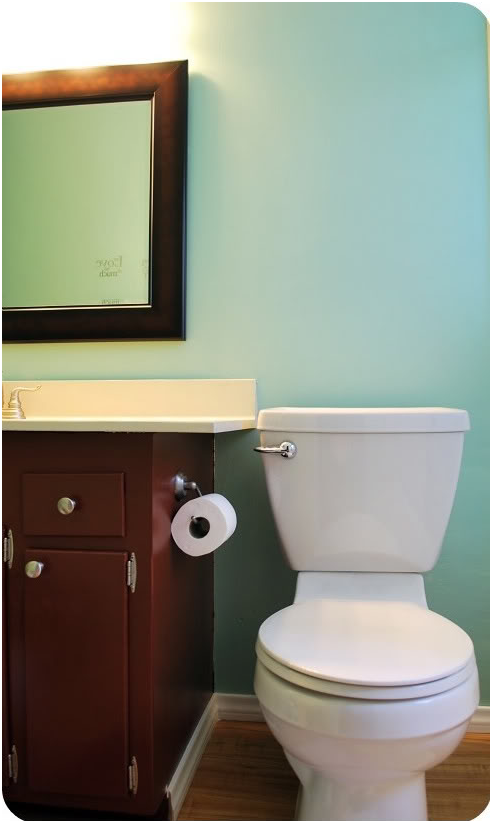
From this original bath
After
... to this, will you give me an A?

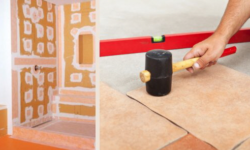
The next master bath post detail how we Installed a toilet on a new tile floor, step by step. That floor looks like wood but I guarantee you, it's not. It's the easiest way of installing floors after our laborious experience of installing wood laminates in our bedrooms. I'll also reveal why we did an emergency toilet bowl replacement, and how we sent the stocks of Therma Care soaring and racked up many doctor's visits. Til then, my bloggy BFFs. Stay tuned.
Originally posted on Homemakeronadime.com
 (1)Dislikes
 (0)
(0)