Embarking on a bathroom remodeling project that includes a new tile floor? Learn how to install a toilet seamlessly on your newly tiled surface in just 20 steps, ensuring a functional and aesthetically pleasing result.
Step 1
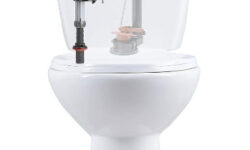
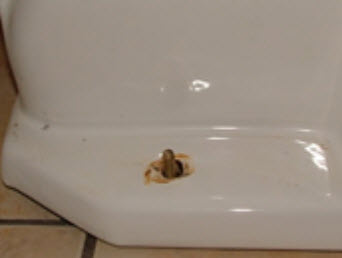
Remove the toilet. To do this: shut off the water supply, flush the toilet, siphon any excess water into the tub or a pail, disconnect the water supply, remove the bolts connecting the tank to the bowl, remove the tank, loosen the nuts at the base and remove the bowl.
Step 2
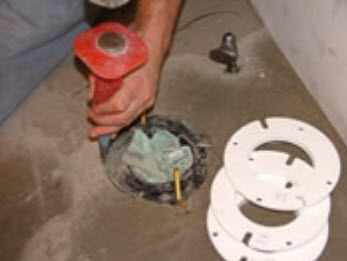
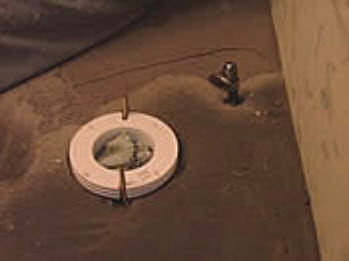
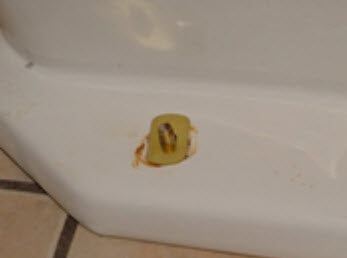
Fill the hole with a rag. This will prevent any bad odors from filling the room.
Step 3
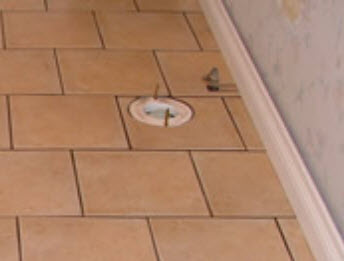
Install new tile flooring.
We installed a heated floor cable under our tile. The heated floor and tile raised the level of the floor. We installed longer bolts and three flange rings to compensate for this height difference (steps 4 and 5).
Step 4
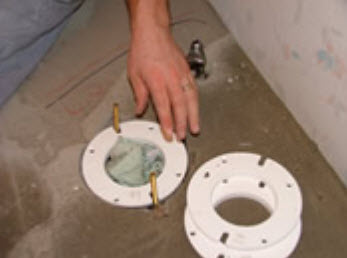
Install two new flange bolts.
Step 5
Add rings to the toilet closet (or flange). Caulk between the rings and screw them in place.
Step 6
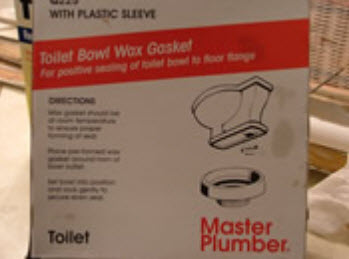
Install the wax ring.
Note: The Toilet Bowl Wax Gasket should be at room temperature to ensure the proper forming of the seal. A wax ring can be purchased at any hardware store for roughly five dollars. We used a toilet bowl wax gasket from the Master Plumber. Additionally, try not to touch the wax, or it will get on everything.
There are two ways of installing the new wax ring:
- You can either attach the ring to the bottom of the toilet by placing the wax ring around the horn of the toilet bowl outlet, while the toilet is tipped on its side.
- Alternately the wax can be placed on the flange directly. Push the bolts against the wax. This is just to make contact. The bolts should not be left at an angle.
Step 7
The next step in your installations will be to remove the rag that was blocking the hole. This is very important if you want to be able to flush your toilet!!
Step 8
Once the toilet is positioned beside the hole, it can be lifted into place on the flange. The bolts should protrude through the holes at the bottom of the toilet.
Step 9
Push down on the toilet. Gently rock and twist the toilet to make sure that there is an even seal between the toilet and the wax ring.
Step 10
Level the toilet with shims.

Step 11
Place the supplied washers on the bolts.
Step 12
Put the nuts on top of the washers.
Step 13
Hand-tighten the nuts first.
Step 14
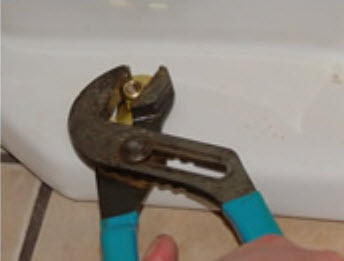
Tighten the nuts with slip-joint pliers.
*Warning! Do Not over-tighten! You will likely only need to turn the bolt from half to three-quarters of a turn. Tightening the bolts too much will cause the toilet base, which is porcelain, to crack. If you crack the base you will need a new toilet.

Step 15
At this stage, you should reattach the toilet tank. Alternate tightening the tank bolts so as not to over-tighten one side. This not only prevents cracking the tank but is also necessary to ensure an adequate seal with the bowl for no leaks.
Step 16
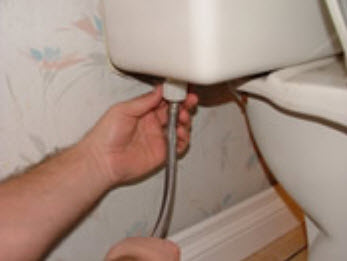
Reconnect the water by attaching the supply line to the base of the toilet tank and the water supply valve.
Step 17
Turn on the water. Check for leaks.
Step 18
Flush the toilet and check for any leaks around the base.
Step 19
Cover the bolts with the white plastic caps.
Step 20
Caulk around the base of the toilet.
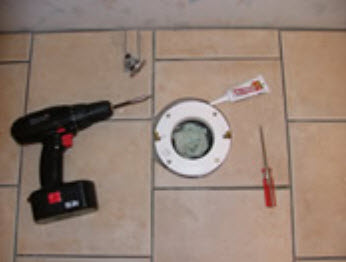
Supplies and Tools Used
- Toilet
- Toilet Flange rings
- Flange bolts
- Wax Toilet Ring
- Adhesive Caulk
- Screws
- Slip-Joint Pliers
- Drill or Screwdriver
- Decorative bolt caps
- Rag
Originally posted on schluter.com
 (0)Dislikes
 (0)
(0)