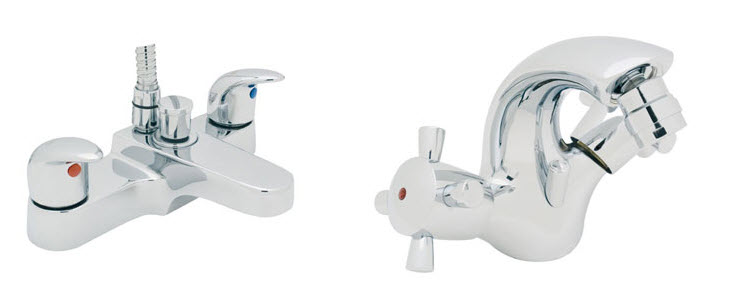
Even the nicest faucets wear out in time. Give your bathroom a new look by simply changing out your sink hardware. The choices are almost limitless and the task is simple. It will take you less than an hour or two in most cases, and you’ll be amazed at how such a simple thing changes the look and feel of your bathroom.
Items you will need
Installing a new bathroom faucet is an easy DIY project. You probably can’t buy your faucet until you’re already into your work. Chances are good, then, that you’ll need to make more than one trip to the store. Try installing your new faucet during store hours to avoid frustrating delays. Some things you may need include:
- Silicone caulk or plumber’s putty, as specified by the faucet manufacturer. Sometimes the manufacturer supplies gaskets, in which case putty or caulk is not needed.
- Basin wrench or adjustable wrenches, as needed. A basin wrench works well at removing hard-to-reach fasteners on older sink faucet assemblies. Newer faucets typically use plastic wing nuts that can be loosened or tightened by hand. Open-end wrenches, pipe wrenches and slip-joint pliers may also come in handy. Water lines can prove stubborn to break free, and rusted fittings may require a little strength.
- Tube cutters make quick work of cutting water supply lines. This may be necessary to install a shut-off valve (if your sink doesn’t already have one).
- Plumber’s tape may be required. Check the faucet instructions.
- Supply lines can deteriorate with age. Purchase new supply lines as desired or needed.
- Shut-off valves are inexpensive and easy to install. If you don’t have shut-off valves on your sink supply lines, plan to install them now.
Basic steps for installing a new faucet
Make sure that you turn off the water supply before removing an old faucet. Use either the shut-off valve attached to the fixture or turn off the water at the main. Open the faucet to allow any remaining water to drain before beginning.
Also turn off the power running to any outlet underneath or near the faucet to avoid accidents. Water and electricity do not mix. Restore the power only once you have installed the new faucet and verified that everything works correctly.
Removing an old faucet
- Disconnect the water supply lines running to the old faucet. If you prefer to replace the lines, completely remove them instead. They attach at the faucet on one end and at the shut-off valve, if present, on the other.
- If the line from which the supply lines run doesn’t feature a shut-off, now is the perfect time to cut the line and install one. Follow the product instructions to attach the shut-off. Cut the line, thread on the shut-off, and secure it.
- Remove the old faucet. It is mounted in one of two ways: A bottom-mount is removed from above and a top-mount from below (confusing, right?). For a bottom-mount, remove the faucet handles and escutcheons to reveal the nuts. On a top-mount, locate the nuts under the sink instead. Use water-pump pliers or a special basin wrench (which works better in tight areas).
- Clean the sink surface where the faucet mounts now, with the old faucet removed. Not only is it easier with the faucet missing, but cleaning also ensures a good seal for the new faucet. To remove stubborn hard water deposits, liberally spray vinegar on the area and allow it to sit at least 15 or 20 minutes. Spray the surface again and wipe away. Use abrasive cleansers and scouring pads cautiously. Depending on the sink material, they may mar or even ruin the finish. Choose soft cloths and gentle cleansers suited to the surface.
Installing a new faucet
- In order to install a new faucet, whether it is top- or bottom-mount, first look at the faucet base. If it has a plastic or rubber gasket, position the faucet appropriately and secure with washers and mounting nuts (exactly as it was removed). Otherwise, spread a bead of plumber’s putty or silicone caulk around the faucet base or escutcheons as appropriate before positioning and anchoring. Apply pressure to ensure a good seal. Wipe away excess caulk or putty when complete.
- Replace the water lines as desired. Purchase the exact length needed and bend as necessary during installation. Copper lines install easier, with a rounded end that fits into the faucet’s water inlets. With the coupling nut tightened, it seals itself to the faucet while the opposite end connects with compression fittings to the shutoff valve. Flexible plastic and braided metal supply lines are also available. They are cut to size and installed with the included fittings.
- Attach the water lines to the new faucet. Wrap the water line threads with plumber’s tape, both at the shut-off and elsewhere as instructed.
- Tighten all coupling nuts hand tight. Do not over-tighten, which may cause leaks.
- Turn on the water and look for leaks, particularly where water flows through connections. Hold a piece of toilet paper to any spot where you’re uncertain. Run water through the sink for several minutes while checking. Recheck after another 5 or 10 minutes.
- Unscrew the faucet aerator – the tip of the faucet where the water comes out – and flush the lines after turning the water on again. This removes any debris. Replace the aerator to finish the job.
If replacing the faucet inspires you to make further changes, consider replacing your showerhead with a low-flow head or changing the hardware on your cabinets. They might be subtle changes, but you’ll notice the difference!
 (2)Dislikes
 (0)
(0)


I am trying to install a new three-piece lavatory faucet. I have the on and off positions reversed. What do I need to do?